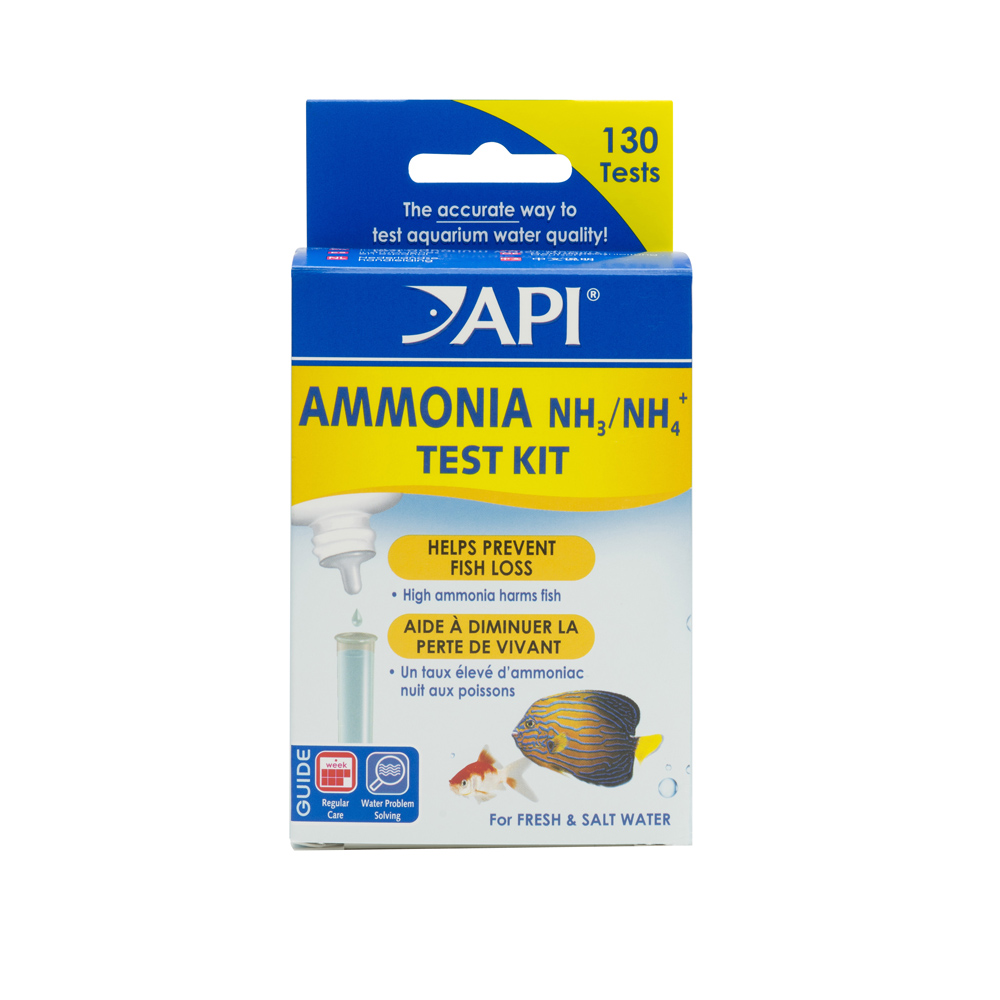
The API® AMMONIA TEST KIT measures ammonia to help prevent fish loss, as ammonia is the number one stressor and killer of tropical fish. Ammonia is released into an aquarium in the forms of uneaten food, decaying organic matter, and when fish release it through their gills, urine, and solid waste.
The API AMMONIA TEST KIT is a mercury-free, salicylate test for fresh and saltwater fish, and measures ammonia levels from 0 to 8 ppm.
Contains 130 tests and includes 2 test solutions, easy-to-ready instructions, test tube and 2 color charts
Is it correct for the #2 bottle in the API AMMONIA TEST KIT to have a slightly bigger hole in the spout than the #1 does? I’m concerned my test kit isn’t accurate because of this.
The dropper tips are all the same, but the viscosity of the liquids are different. Drops may appear to be larger coming out due to the thickness of the drop.
How do I care for and clean my test tubes?
Once the test has completed, it is important to rinse the test tube with water right away so that the contents don’t stay in the test tube. This will make sure that the reagents don’t cause anything to stick to the sides of the test tube, which could cause staining over time.
Simply run the water, open the test tube gently (do not twist the cap), and allow the water to dilute and rinse the contents out of the test tube. Avoid getting the contents of the test tube on your skin.
If you find that you have forgotten reagent within your test tube for a long period and the color is sticking to the tube, you are able to use a small bottle brush (and some API Safe & Easy cleaning spray) to gently wash the inside of the tube. Avoid the use of soap, as soap residue could be introduced back into the aquarium when filling the test tube at next use, which is something that could be harmful to your fish.
Replacement test tubes are also available for purchase from online retailers, should you need additional test tubes.
How hard do I shake the test tube when performing the tests?
While it is important to shake the indicated reagent bottles very vigorously, you should be gentler when shaking the test tubes during testing. Before shaking, make sure that the cap is closed tight. Place a finger or thumb on top of the cap, to make sure it cannot come undone during use. The goal of this shaking step is to mix the contents of the tube together and this can be accomplished by simply inverting the test tube, back and forth every 1-2 seconds, for the indicated amount of time.
Additional information
Weight
.2 kg
Dimensions
11 × 8 × 5 cm
Testimonial
What they say about us
Great shop good variety of products
read moreread less
Peter Sharkey
4/23/2026
I got 3 rats from here and they are super healthy and very good with handling! I was texting the owners for a couple days about the rats and they had very quick replies. Had so many stuff in the shop for cheap! Basically anything you need for any pets. Heaps of cages. Heaps of food. And great customer service! Spoke to me the whole time about what rat I wanted and where I came from. Will definitely be coming here every week!
read moreread less
Stephanie Inglis
2/27/2026
Very knowledgeable, very helpful, very reasonable! Thank you for your help finding parts for my filter the other week.